6.9 KiB
| title |
|---|
| GitHub Actions |
GoReleaser can also be used within our official GoReleaser Action through GitHub Actions.
You can create a workflow for pushing your releases by putting YAML configuration to
.github/workflows/release.yml.
Usage
Workflow
Below is a simple snippet to use this action in your workflow:
name: goreleaser

on:
  pull_request:
  push:

permissions:
  contents: write

jobs:
  goreleaser:
    runs-on: ubuntu-latest
    steps:
      -
        name: Checkout
        uses: actions/checkout@v2
        with:
          fetch-depth: 0
      -
        name: Set up Go
        uses: actions/setup-go@v2
        with:
          go-version: 1.17
      -
        name: Run GoReleaser
        uses: goreleaser/goreleaser-action@v2
        with:
          # either 'goreleaser' (default) or 'goreleaser-pro'
          distribution: goreleaser
          version: latest
          args: release --rm-dist
        env:
          GITHUB_TOKEN: ${{ secrets.GITHUB_TOKEN }}
          # Your GoReleaser Pro key, if you are using the 'goreleaser-pro' distribution
          # GORELEASER_KEY: ${{ secrets.GORELEASER_KEY }}
!!! warning
Note the fetch-depth: 0 option on the Checkout workflow step. It is required for GoReleaser to work properly.
Without that, GoReleaser might fail or behave incorrectly.
Run on new tag
If you want to run GoReleaser only on new tag, you can use this event:
on:
  push:
    tags:
      - '*'
Or with a condition on GoReleaser step:
      -
        name: Run GoReleaser
        uses: goreleaser/goreleaser-action@v2
        if: startsWith(github.ref, 'refs/tags/')
        with:
          version: latest
          args: release --rm-dist
        env:
          GITHUB_TOKEN: ${{ secrets.GITHUB_TOKEN }}
!!! tip For detailed instructions please follow GitHub Actions workflow syntax.
Signing
If signing is enabled in your GoReleaser configuration, you can use the Import GPG GitHub Action along with this one:
      -
        name: Import GPG key
        id: import_gpg
        uses: crazy-max/ghaction-import-gpg@v4
        with:
          gpg_private_key: ${{ secrets.GPG_PRIVATE_KEY }}
          passphrase: ${{ secrets.PASSPHRASE }}
      -
        name: Run GoReleaser
        uses: goreleaser/goreleaser-action@v2
        with:
          version: latest
          args: release --rm-dist
        env:
          GITHUB_TOKEN: ${{ secrets.GITHUB_TOKEN }}
          GPG_FINGERPRINT: ${{ steps.import_gpg.outputs.fingerprint }}
And reference the fingerprint in your signing configuration using the GPG_FINGERPRINT environment variable:
signs:
  - artifacts: checksum
    args: ["--batch", "-u", "{{ .Env.GPG_FINGERPRINT }}", "--output", "${signature}", "--detach-sign", "${artifact}"]
Customizing
Inputs
Following inputs can be used as step.with keys
| Name | Type | Default | Description |
|---|---|---|---|
distribution |
String | goreleaser |
GoReleaser distribution, either goreleaser or goreleaser-pro |
version¹ |
String | latest |
GoReleaser version |
args |
String | Arguments to pass to GoReleaser | |
workdir |
String | . |
Working directory (below repository root) |
install-only |
Bool | false |
Just install GoReleaser |
!!! info
¹: Can be a fixed version like v0.117.0 or a max satisfying SemVer one
like ~> 0.132. In this case this will return v0.132.1.
Environment Variables
Following environment variables can be used as step.env keys
| Name | Description |
|---|---|
GITHUB_TOKEN |
GITHUB_TOKEN as provided by secrets |
GORELEASER_KEY |
Your GoReleaser Pro License Key, in case you are using the goreleaser-pro distribution |
Token Permissions
The following permissions are required by GoReleaser:
content: writeif you wish to- upload archives as GitHub Releases, or
- publish to Homebrew, or Scoop (assuming it's part of the same repository)
- or just
content: readif you don't need any of the above packages: writeif you push Docker images to GitHubissues: writeif you use milestone closing capability
GITHUB_TOKEN permissions are limited to the repository that contains your workflow.
If you need to push the homebrew tap to another repository, you must therefore create a custom
Personal Access Token with repo permissions and add it as a secret in the repository. If you
create a secret named GH_PAT, the step will look like this:
      -
        name: Run GoReleaser
        uses: goreleaser/goreleaser-action@v2
        with:
          version: latest
          args: release --rm-dist
        env:
          GITHUB_TOKEN: ${{ secrets.GH_PAT }}
You can also read the GitHub documentation about it.
How does it look like?
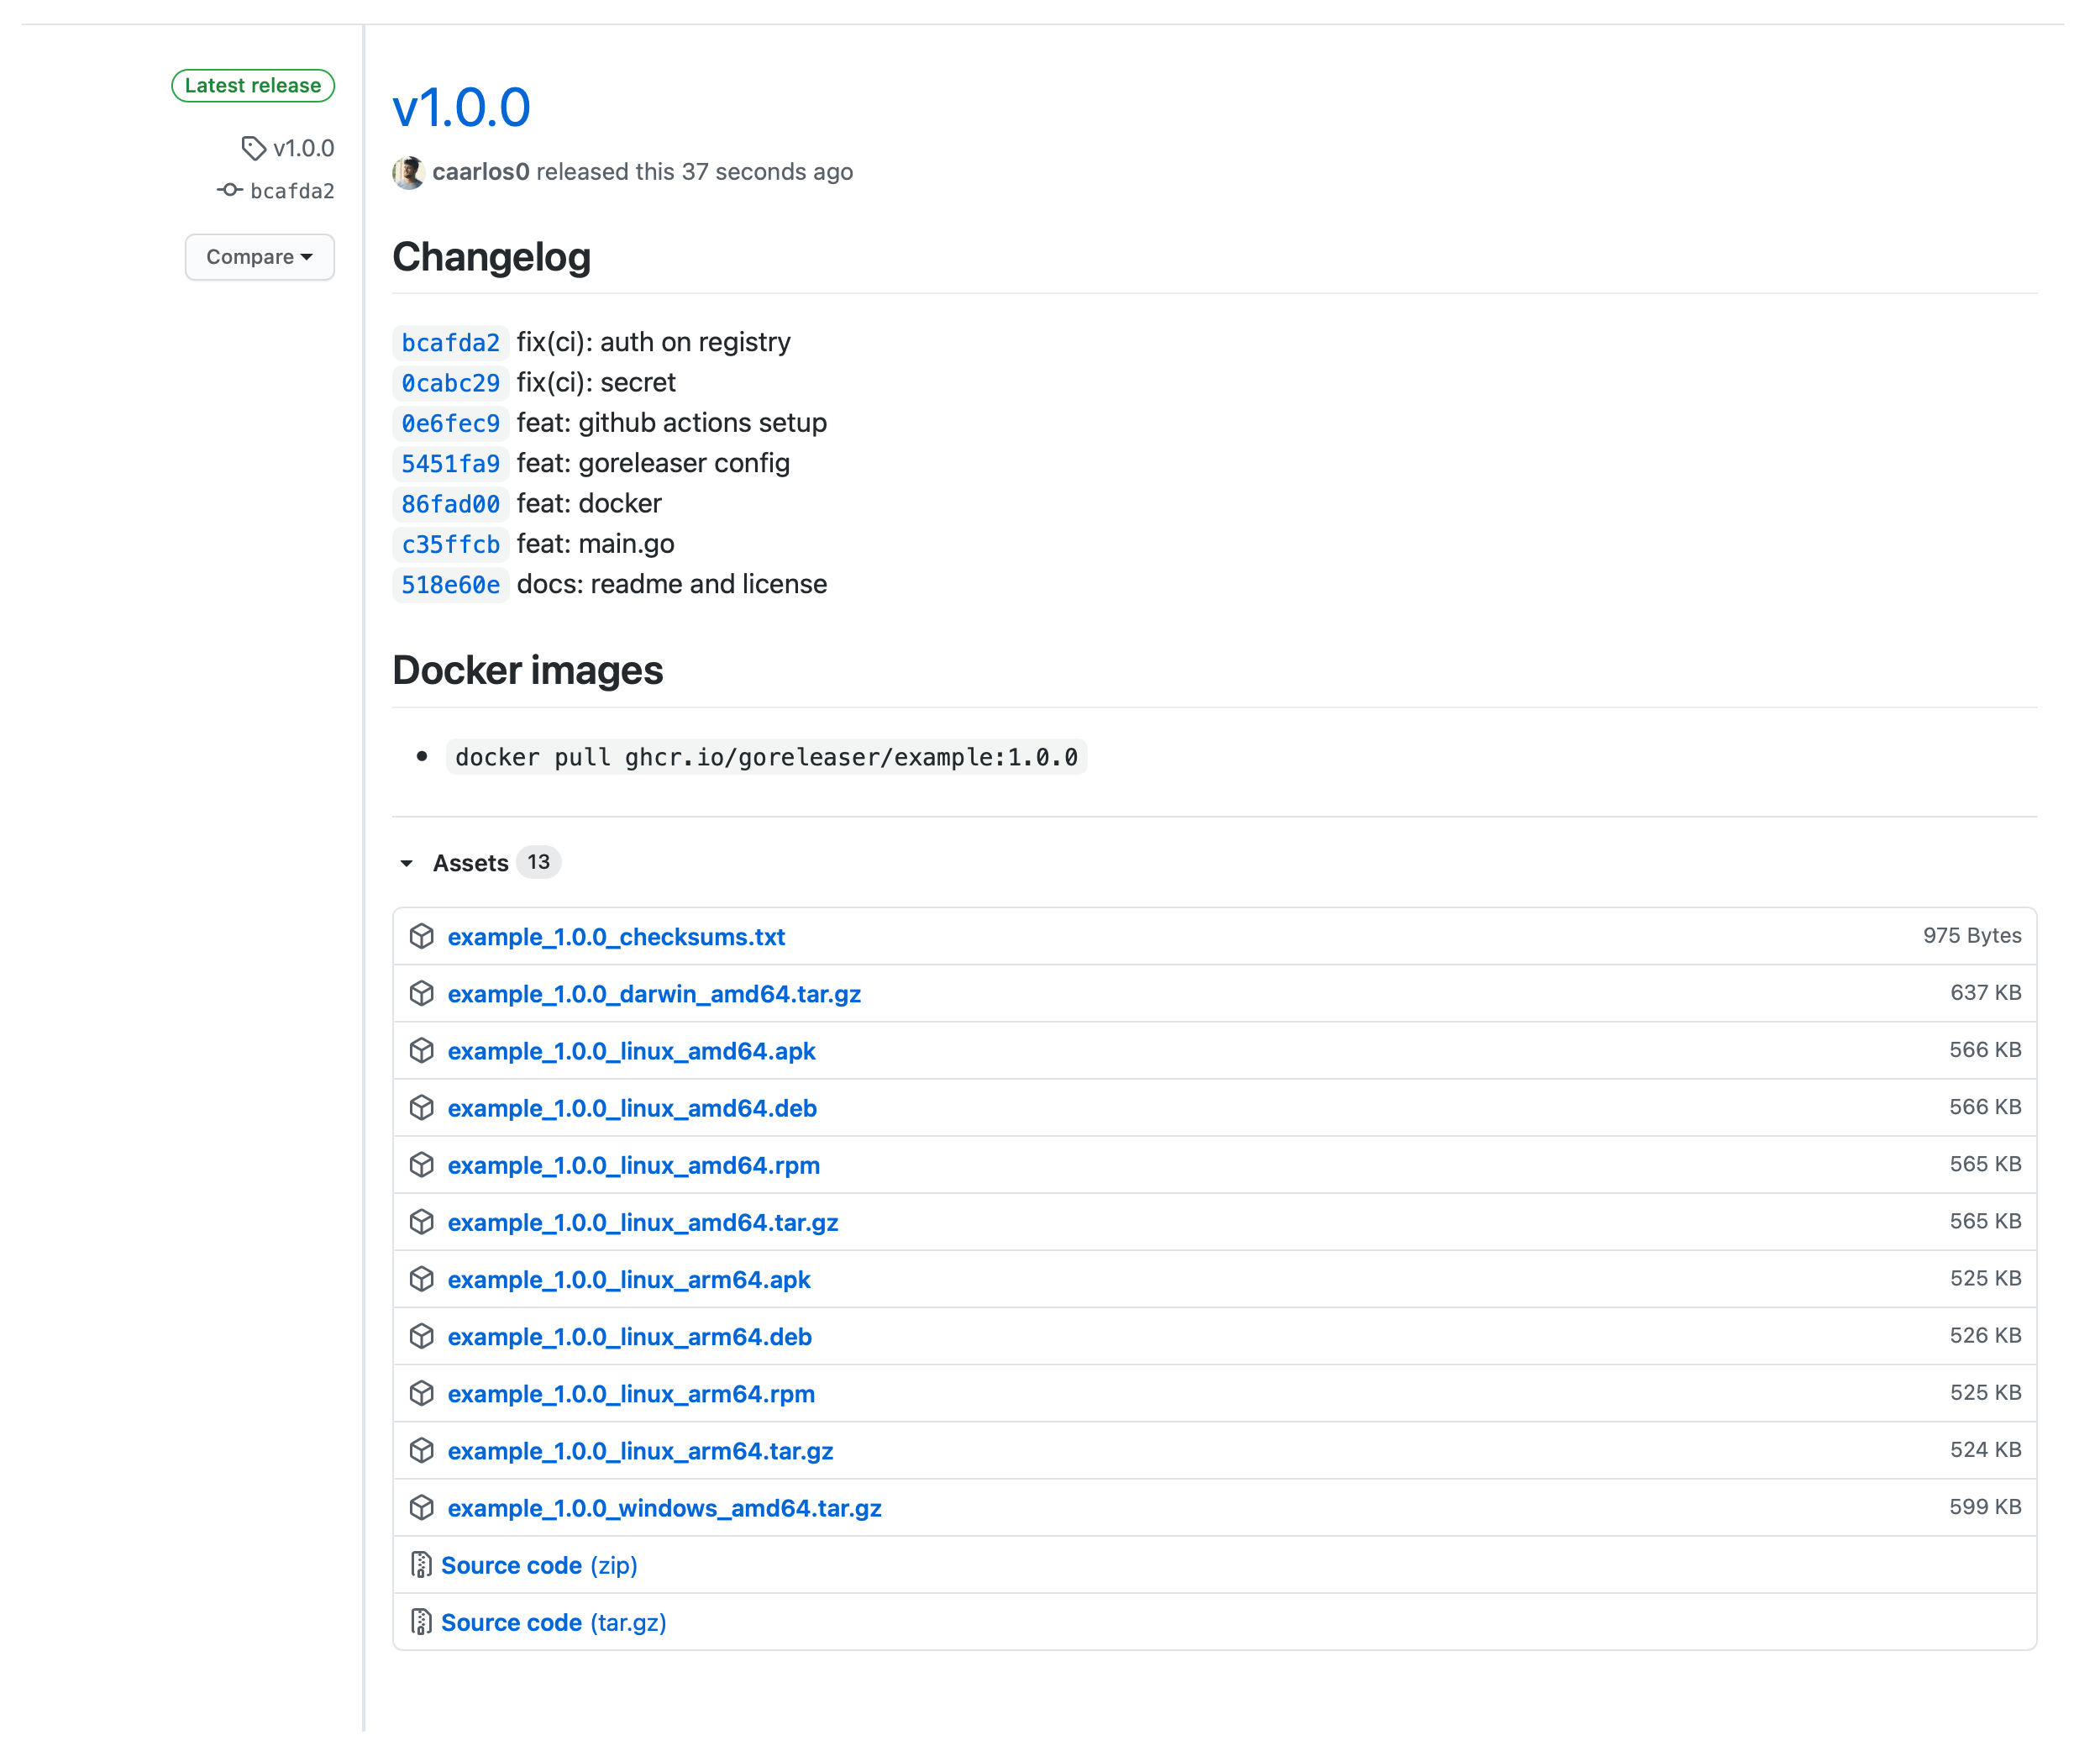
You can check this example repository for a real world example.
