3.4 KiB
| title | date | section | weight |
|---|---|---|---|
| User's Guide | 2020-12-15T12:01:23-04:00 | guide | 2 |
Adding new Boards
- Click "+ Add Board" at the lower left of the sidebar to add a new board to Matterdeck.
- Pick "Project Tasks" from the list of templates.
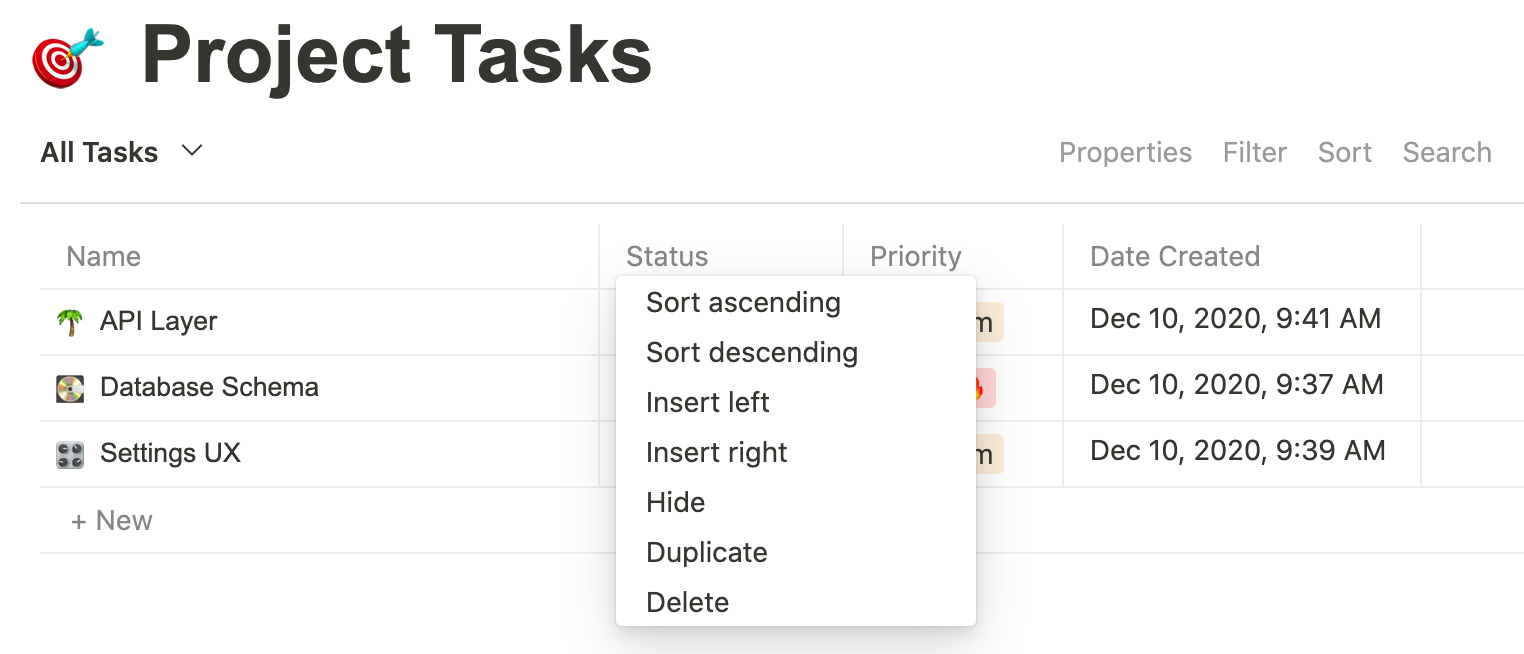
- This shows the first view of the new board, which is a table of all tasks

- Click on "By Status" in the sidebar to see a board view

- Click on the properties menu, and turn on "Priority" and "Date created". This will add those properties to the card display.

- You can likewise change the "Group By", "Filter", and "Sort" settings of the view
- In general, all changes you make are saved immediately
Renaming Boards
Click on the board title to edit it. You can also set an icon on boards and cards.
Adding new Views
Click on the dropdown next to the view name, and click "Add view" to add a new view.
Dragging cards
Drag cards from one column to another to change their group-by property. For example, drag a card to the "Completed" column to mark it as completed.
When a board is unsorted, you can drag a card to a specific row in a column.
For sorted boards, dragging a card to a column with auto-sort it using the specified sort settings.
Editing cards
Click on a card to edit it. A card consists of:
- A set of properties
- A list of comments
- A set of content
Properties are common to all cards in a board. Board views can group cards by "Select" type properties into different columns.
Comments are useful for noting important changes or milestones.
The content of a card can consist of markdown text and images. Use this to record detailed specs or design decisions for an item for example.
Press ESC or click outside the card editor dialog to close the card editor.
Table Views
Each column corresponds to a card property. Cells can be edited directly, or you can open the card editor for a row by hovering over the title and clicking "open".
Click on headers to sort them, or insert new properties.
Card templates
Each board can have a set of card templates. To create a new card template, click on the dropdown by the "New" button and select "+ New template".
A card editor opens with a banner indicating this is a template.
You can new create new cards using this new template.
Alternatively, you can turn any card into a template:
- Open the card editor
- Click on the options menu (... at the top right)
- Select "New template from card"
Board templates
Similarly, you can create board templates from the "+ Add board" menu. To turn an existing board into a template:
- Hover over the board title in the sidebar
- Click on the options menu (...) and select "New template from board"
Archives
You can export an archive of all your boards from the settings menu.
This is handy to quickly back-up snapshots, or to transfer them to different installations, for example from a Personal Desktop to a server install.
Note that the archive does not (currently) include image and file attachments, such as images included in a card.
Also note that importing an archive will overwrite changes to items, but will not affect additional items (e.g. boards and cards) that are not part of the archive.


